The first 7 days of a chick's life determine everything. Get the temperature right and your chicks grow fast, stay healthy, and reach target weight on schedule. Get it wrong and you lose 5-15% in the first week alone — chicks that either die from cold stress or fail to thrive from heat stress. The brooding temperature is the single most important management factor in the first 3 weeks of a chick's life [1][2][3].
The temperature chart
| Age | Temperature at chick level | Reduce by |
|---|---|---|
| Day 1-7 (Week 1) | 32-35°C (90-95°F) | Start here |
| Day 8-14 (Week 2) | 29-32°C (85-90°F) | Reduce by 3°C |
| Day 15-21 (Week 3) | 26-29°C (79-84°F) | Reduce by 3°C |
| Day 22-28 (Week 4) | 23-26°C (73-79°F) | Reduce by 3°C |
| Day 29-35 (Week 5) | 21-24°C (70-75°F) | Reduce by 2°C |
| Day 36+ (Week 6+) | 18-24°C (65-75°F) | Ambient (no heat needed) |
African Farming recommends keeping the brooding area at 36°C initially and gradually reducing by 2-3°C weekly until it reaches 21-24°C by week four [3]. The Poultry Site recommends 32-35°C at floor level for the first week [2].
How to tell if the temperature is right without a thermometer
Chick behavior is the best thermometer. Observe how the chicks distribute themselves relative to the heat source:
- Too cold: Chicks huddle together in a tight circle directly under the heat source. They are noisy (chirping loudly = distress). Some may pile on top of each other, smothering the ones at the bottom.
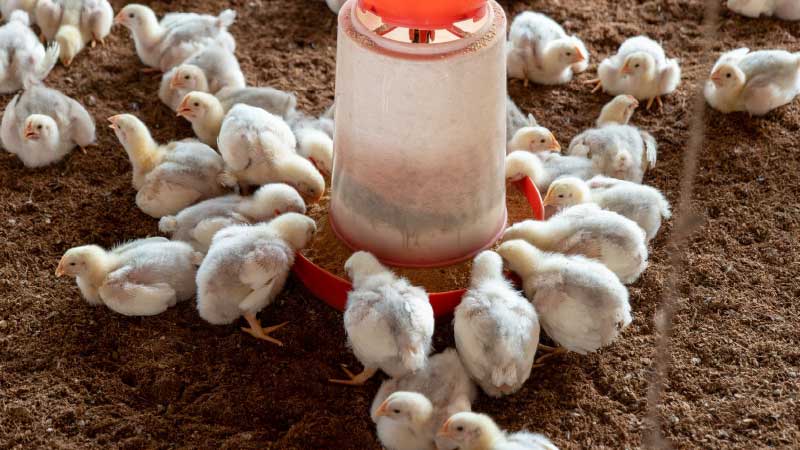
- Too hot: Chicks spread out as far from the heat source as possible, staying near the walls of the brooder. They may pant (open beak breathing), hold wings away from body, and be lethargic.
- Just right: Chicks are evenly distributed throughout the brooder. Some are eating, some drinking, some resting, some moving around. They are quiet (contented chirping, not distressed).
Heat source options
- Gas brooder (best for 500+ chicks): Even heat distribution, thermostatically controlled. Cost: 50,000-100,000 FCFA (~$83-167 USD).
- Infrared heat lamp (best for small flocks): 150-250 watt infrared bulb, hung 50cm above the floor. Cost: 15,000-25,000 FCFA (~$25-42 USD). Adjust height to change temperature (lower = hotter).
- Charcoal stove (for off-grid farms): Place a metal stove at one end of the brooder with a metal sheet above to radiate heat. Monitor closely — fire risk and carbon monoxide if ventilation is poor.
The 5 most common brooding mistakes
- Not pre-heating the brooder before chicks arrive. The floor must be 32-35°C when chicks are placed. Pre-heat for at least 6 hours before arrival.
- Measuring temperature at the wrong height. Temperature must be measured at chick body level (5-10cm above the floor), not at human chest height.
- Reducing temperature too fast. Reduce by only 2-3°C per week. Sudden drops cause stress and disease.
- Drafts. Even at the right temperature, cold drafts kill chicks. Seal all gaps in the brooder walls. Air should enter from the top (above the heat source) and exit at the bottom opposite side.
- No thermometer. "I think it feels warm enough" is not a measurement. Buy a digital thermometer (~3,000 FCFA) and place it at chick level.
FarmWise can auto-schedule temperature reduction reminders: when you log a new batch of chicks, it creates weekly tasks to reduce the temperature by 3°C and check chick behavior.
Sources & References
- [1] Oak Ridge Feed: Temperature chart for your new chicks — reduce by 5°F per week, maintain 95°F first week. Source: oakridgefeed.com
- [2] The Poultry Site: Brooding Temperatures for Small Poultry Flocks — 32-35°C at floor level for first week. Source: thepoultrysite.com
- [3] African Farming: Temperature regulation — brooding area at 36°C initially, reduce 2-3°C weekly until 21-24°C by week four. Source: africanfarming.net
FarmWise tracks all of this automatically for your farm.
Start free